Learn how to trigger standard and custom events on your website
Sometimes you need more control over which events get triggered on your website and when. AnyTrack TAG supports trigger standard and custom events programmatically as needed.
Please note: Trigger custom events require HTML and JavaScript skills. Please contact a web developer if you don’t feel comfortable doing that yourself.
Trigger a standard event
You can use the following command to trigger a standard AnyTrack event, for example, “Lead”:
<script>
// trigger an lead event
var click_id = AnyTrack('trigger', 'Lead');
</script>
A standard event is any event name from the following list:
- PageView
- OutboundClick
- FormSubmit
- AddToCart
- Lead
- InitiateCheckout
- AddPaymentInfo
- CompleteRegistration
- Purchase
The return argument is the event {click_id} as a string (for example: MAbFl0fhrE5EfBu6fX0FnL02LfS), and it can be used later on to attribute conversion events on your postback URLs.
Trigger custom event names
If you need more flexibility on the naming convention for your events, you can use custom event names using the following snippet:
<script>
// trigger an optin event
var click_id = AnyTrack('trigger', 'Optin');
</script>
Note:
This snippet will only work if the AnyTrack tag is set on the head of your website.
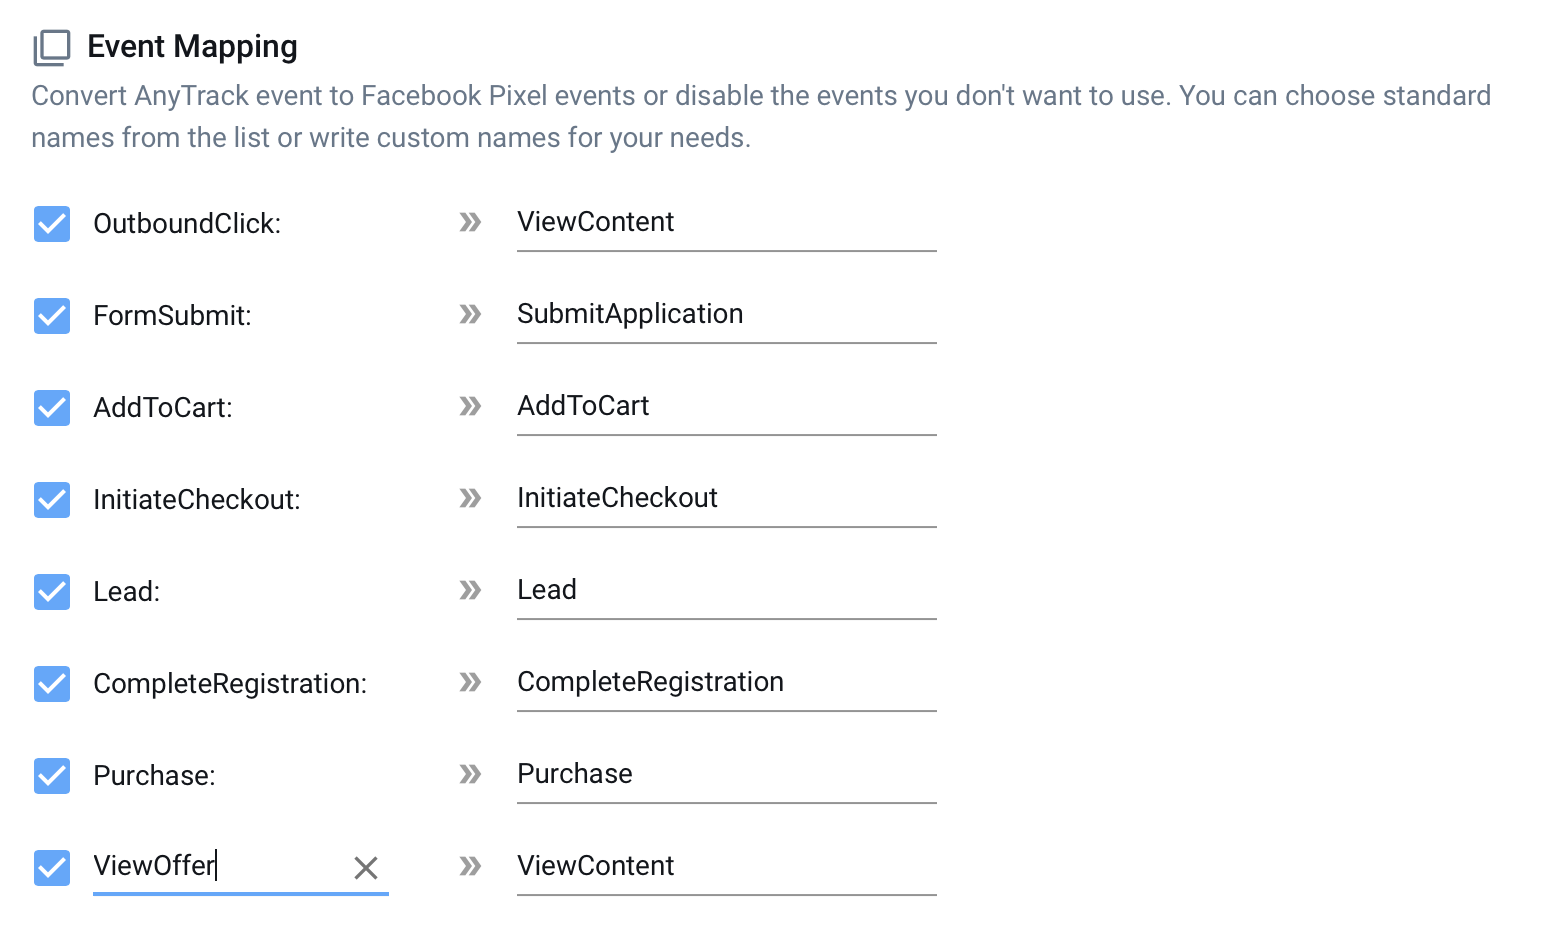
Conversion event mapping
Once you've added your custom event snippets on your website and they are triggering according to your plan, you need to map them to your ad pixel's event names.
Good to remember:
When AnyTrack Event Snippet fires, it automatically sends the same event name to your ad pixel.
It’s possible to send additional parameters on your custom events, such as value, product name, or transaction id. See here the full list of supported parameters
Need support?
Questions? Problems? Need more info? Contact Anytrack Support for assistance!