Installing the AnyTrack Tag
Learn how to quickly install the AnyTrack tag on your website to start tracking conversions and optimizing ROAS.
AnyTrack is a light weight tracking tag that you add to your website's head section. it should load across your entire website and doesn't need to be customized to track standard events.
The AnyTrack Tag
<script>
! function(e, t, n, s, a) {
	(a = t.createElement(n))
	.async = !0, a.src = "https://assets.anytrack.io/XXXXXXXXX.js",
		(t = t.getElementsByTagName(n)[0])
		.parentNode.insertBefore(a, t),
		e[s] = e[s] || function() {
			(e[s].q = e[s].q || [])
			.push(arguments)
		}
}(window, document, "script", "AnyTrack");
</script>
There are 4 methods to add the Tag to your website:
- Add the Tag directly in the
headsection of your website. - If you are using WordPress, you can use one of the AnyTrack Plugin - for Affiliate Link manager or Woocommerce.. Watch setup video.
- Using Google Tag Manager.
- Use the Tag management system provided by your website builder (ClickFunnels, GohighLevel etc.).
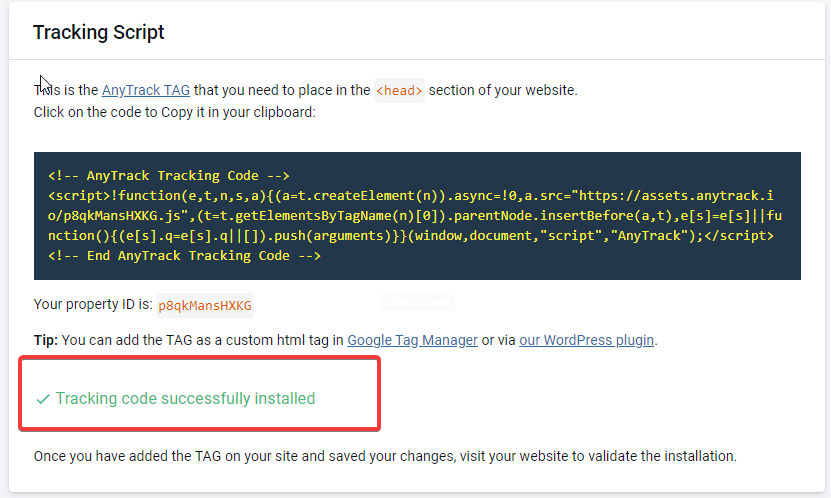
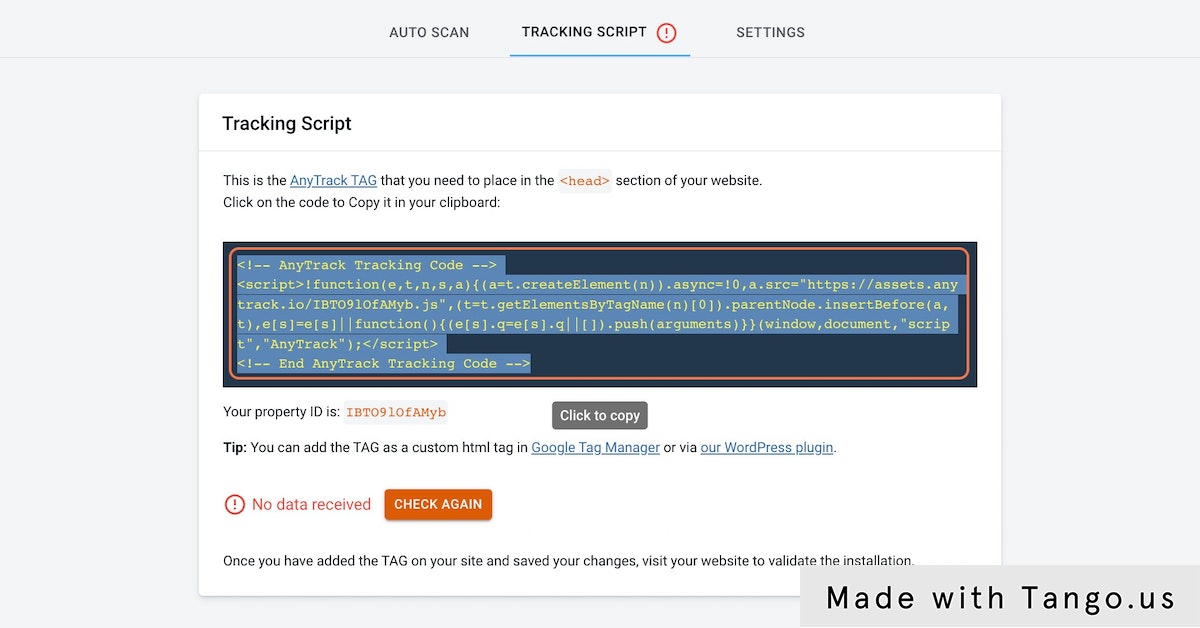
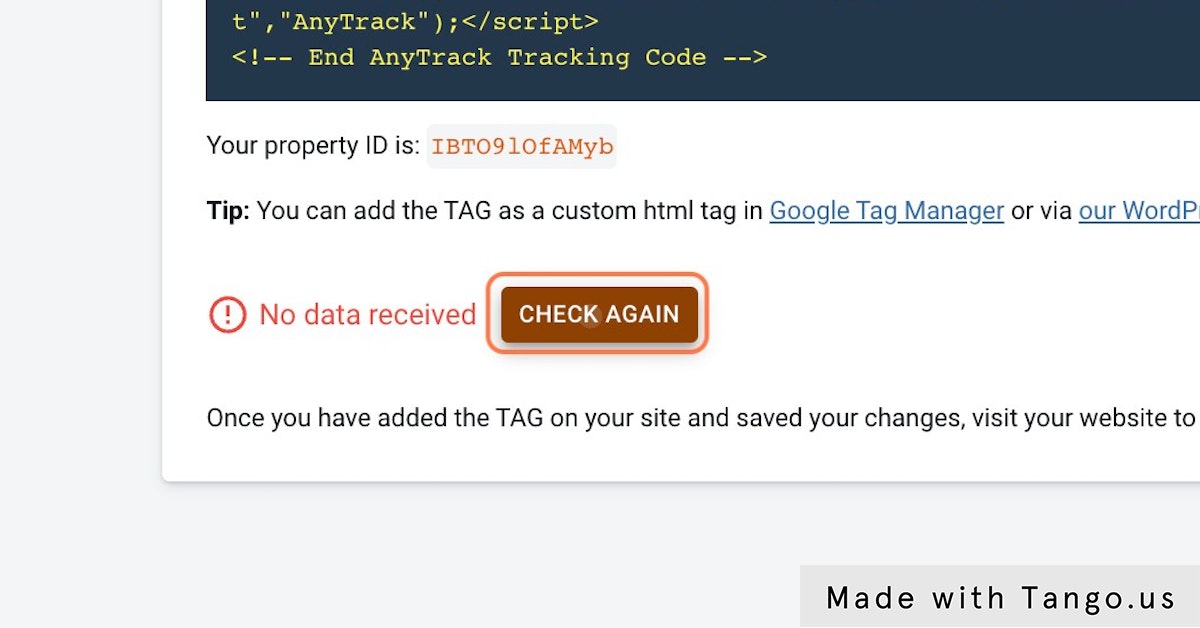
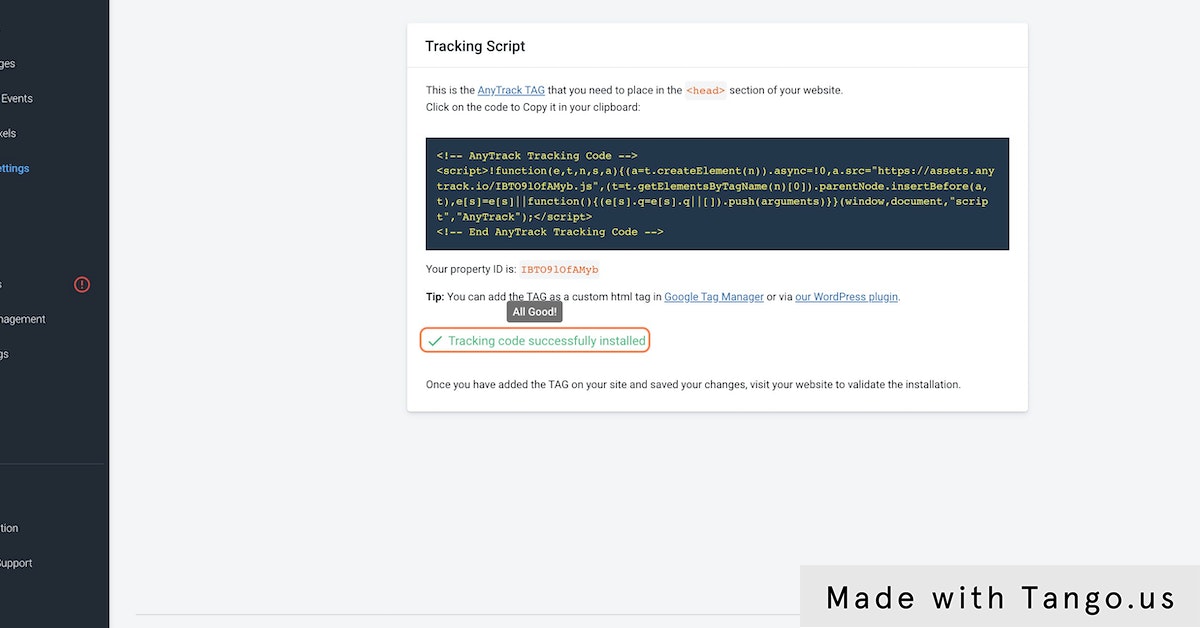
How to insert the AnyTrack Tag and validate the setup
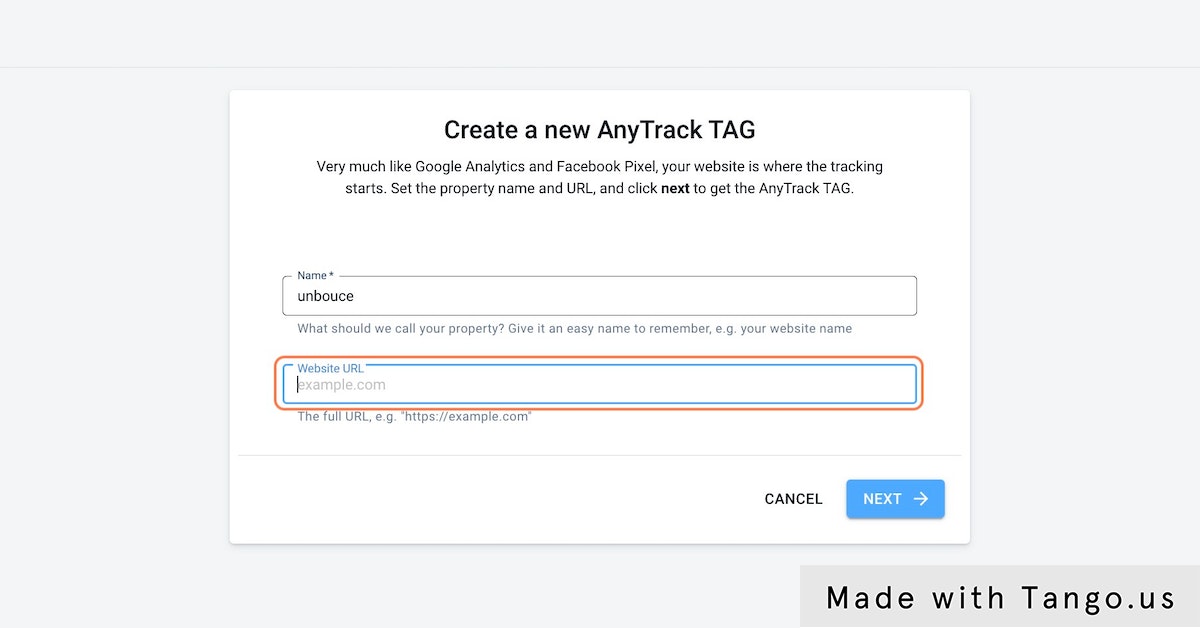
- First copy AnyTrack Tag located in Property settings → Tracking script
- Open your website head section and paste the code as high as possible.
- Validate the installation by visiting your website.
How to add AnyTrack Tag in WordPress using the AnyTrack Plugin
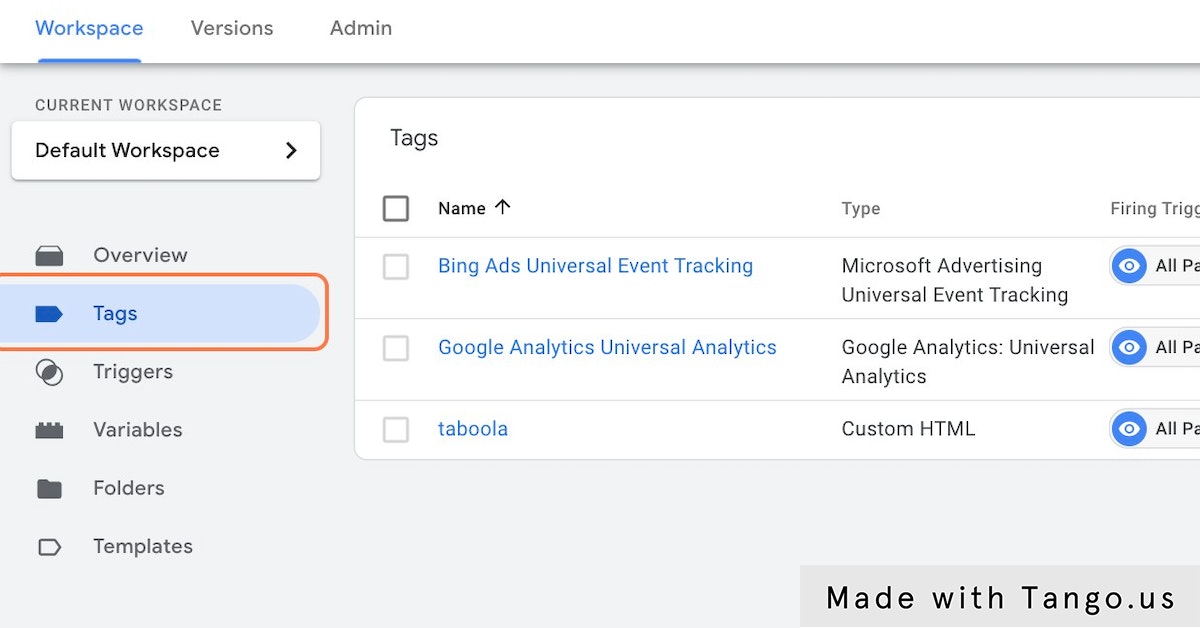
How to add AnyTrack TAG via Google Tag Manager (GTM)?
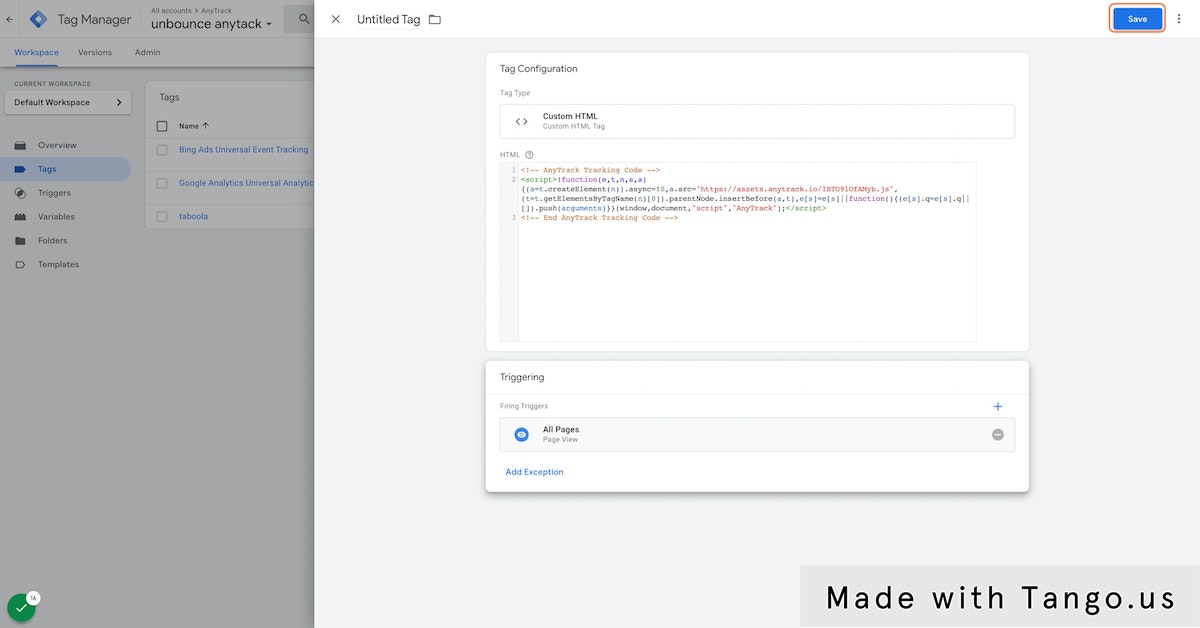
The Custom HTML Tag type allows you to deploy a custom HTML tag such as AnyTrack TAG.
To create a new Custom HTML tag:
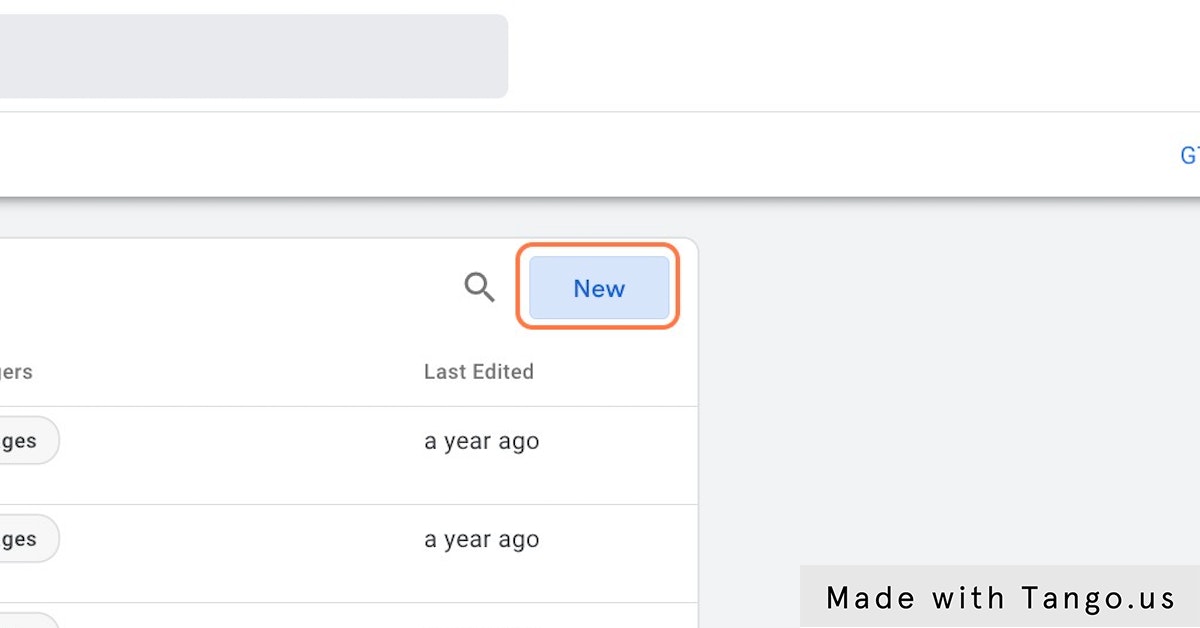
- In Google Tag Manager, click Tags in the navigation.
- Click New to create a new tag.
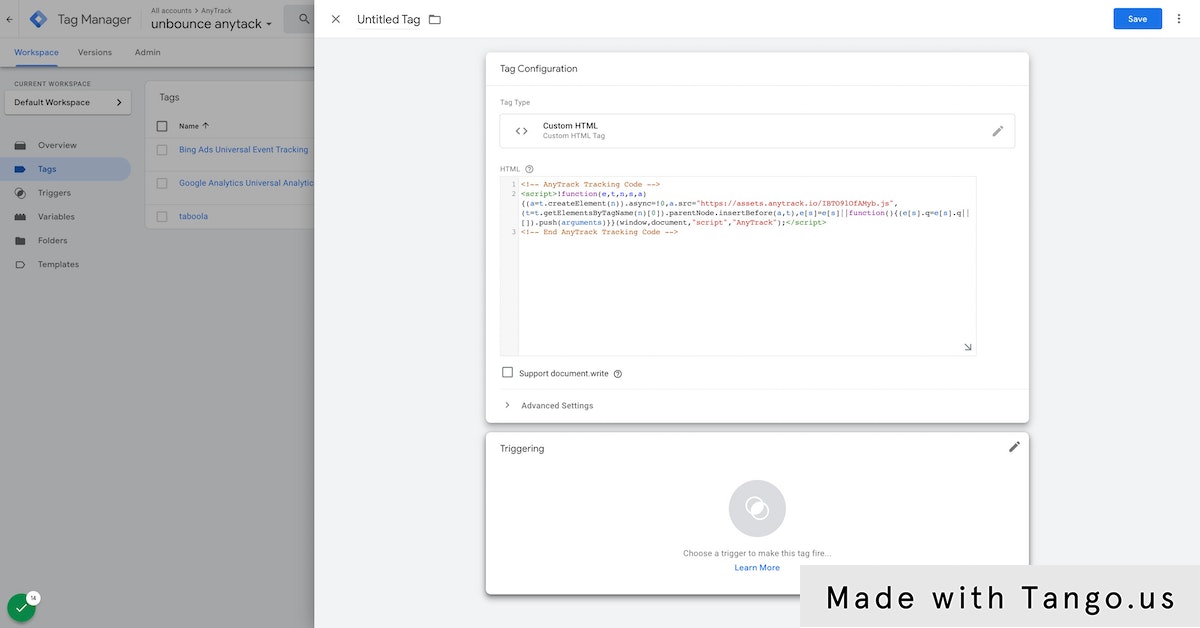
- Name your Tag (example: AnyTrack TAG).
- Click Tag Configuration.
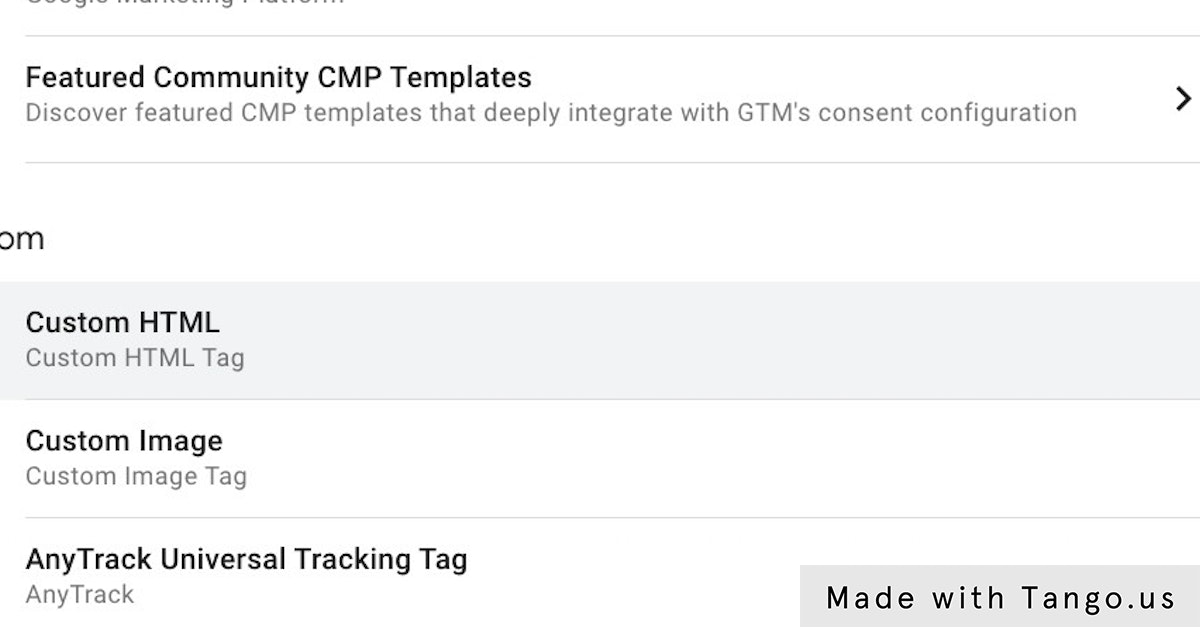
- Select Custom HTML for the tag type.
- Copy the tag code on the property settings and paste it into the HTML field and Click Save.
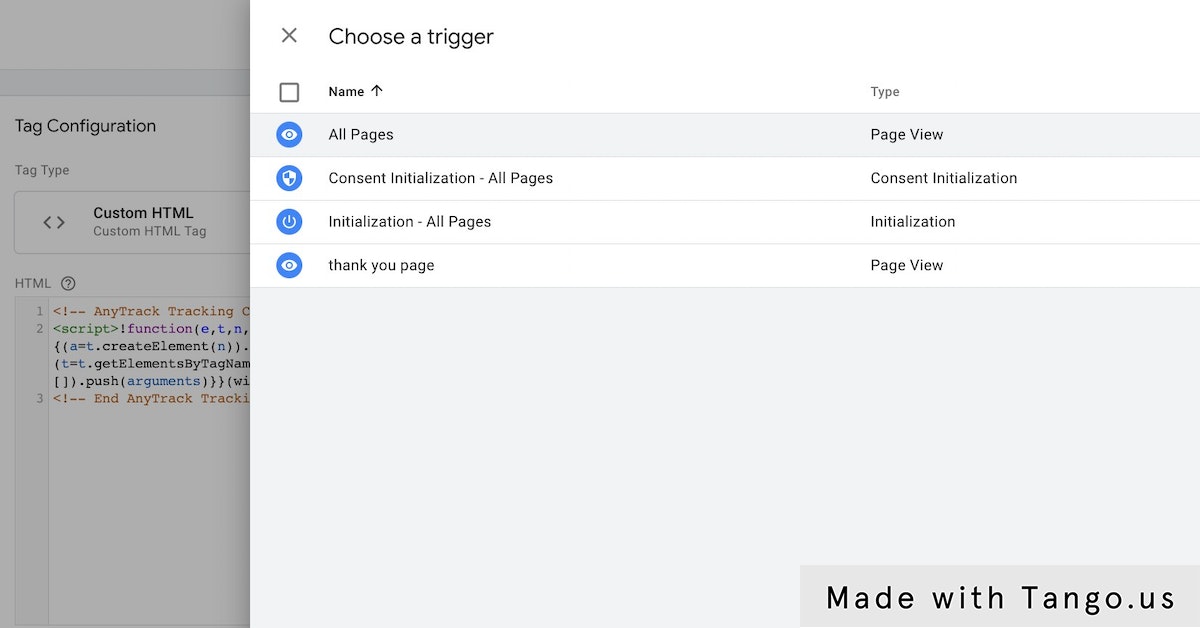
- Click Add Trigger.
- Select All Pages.
- Click Save
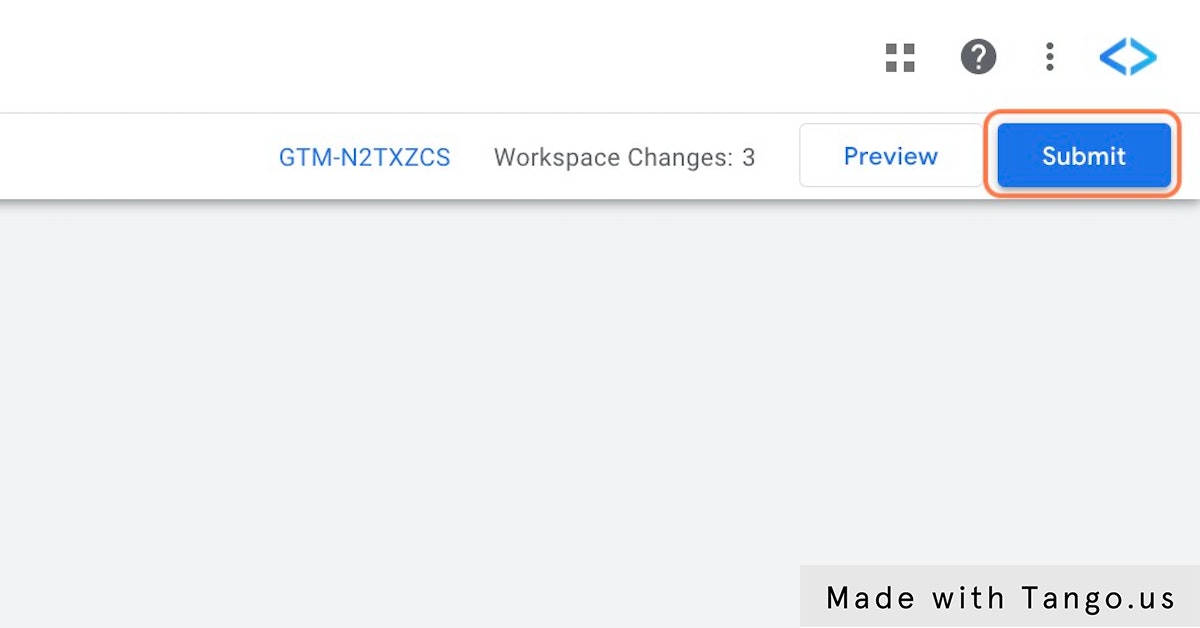
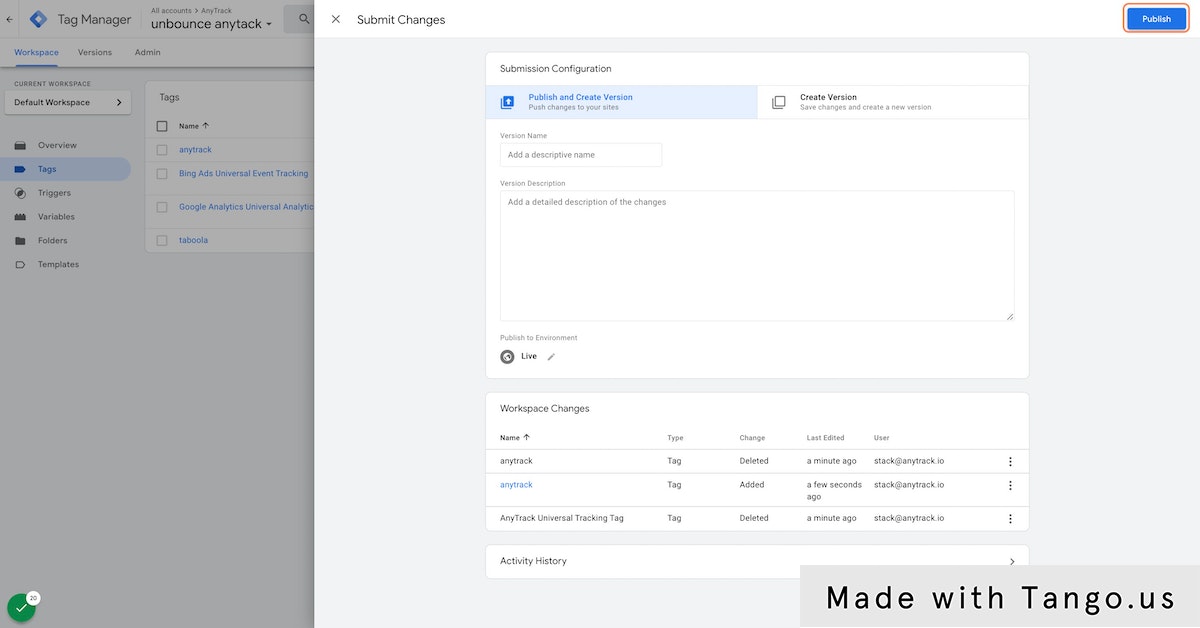
- Click Submit and Publish the container.
From now on, AnyTrack will automatically capture meaningful events such as OutboundClick, FormSubmit, add to cart, and initiate checkout events.
In order to track conversions such as purchases, leads, and eCommerce journeys, you will need to add a conversion source available in the integration catalog.
How to setup your AnyTrack TAG with Google Tag Manager with screenshots

With AnyTrack AutoTrack & AutoTag features tracking outbound clicks, lead generation funnels is done for you automatically. So you don't need to trigger any other types of events or parameters.
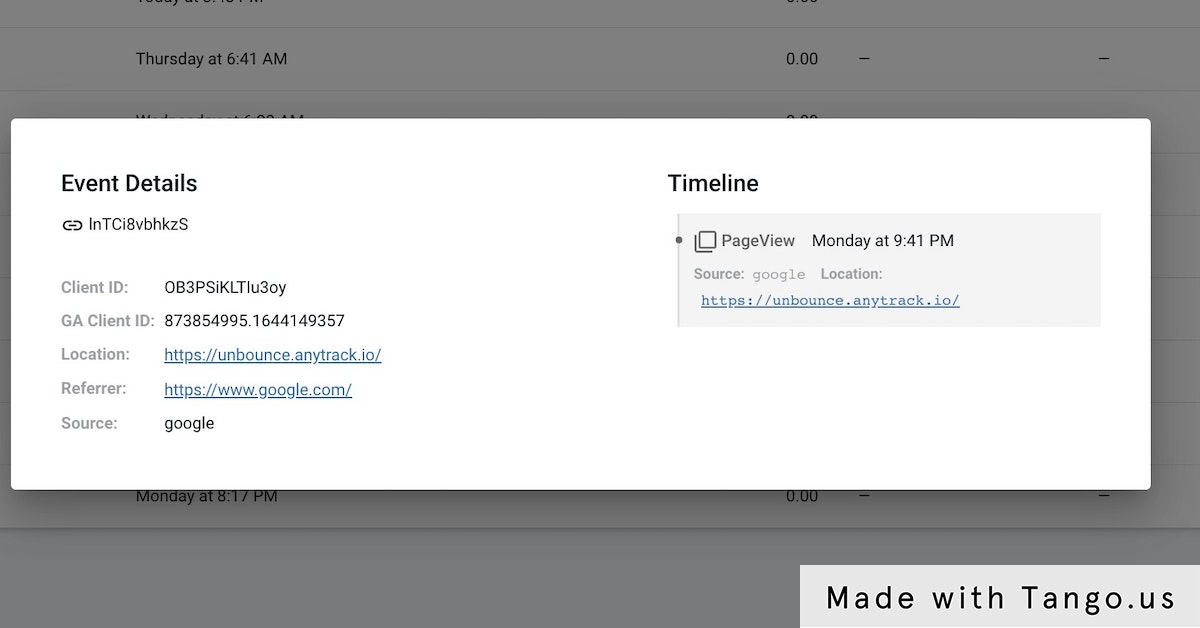
Validation happens in near real time.
You will see the current events that have been recorded.
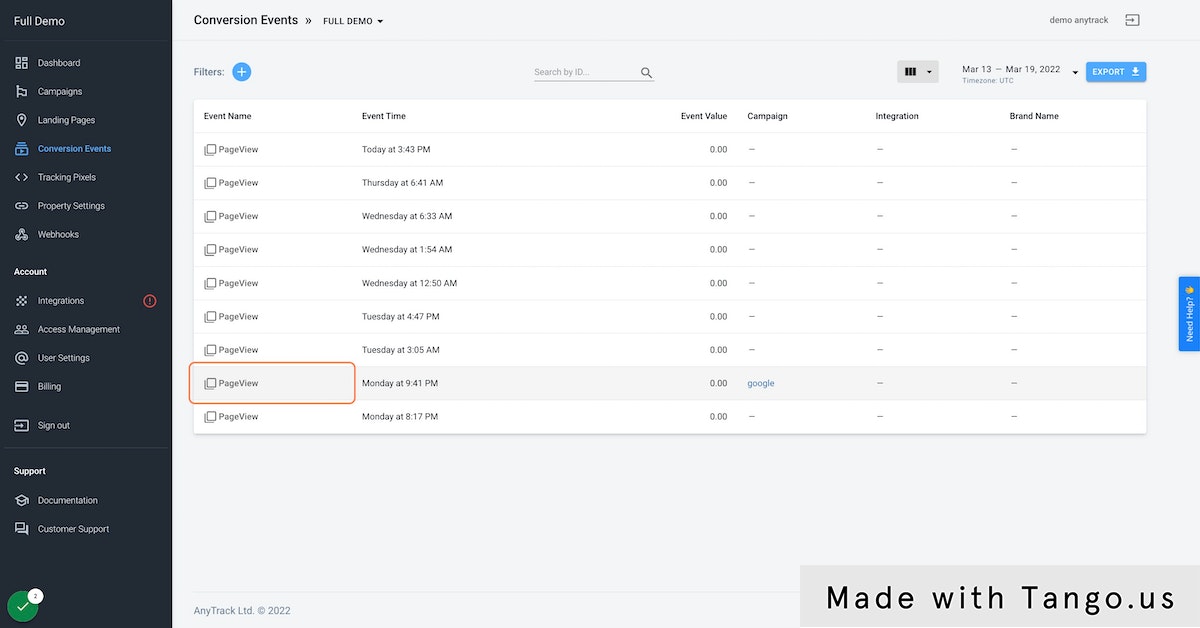
The Payload shows the data that has been captured by the AnyTrack Tag, and the AnyTrack Tracking API.
AutoTrack
AutoTrack is a function provided in the AnyTrack tracking TAG which automatically sends engagement events such as outbound clicks and form submissions to your analytics and pixels.
What are engagement events:
Engagement events are events that occur on your site, such as outbound clicks and form submissions. They are considered as "micro-conversions" since they give an indication of how your audience engages with your website content.
Outbound Clicks
Outbound clicks are usually links that point to external URLs such as affiliate links. By default, AnyTrack will track and send these events to your analytics and pixels.
In addition, links with the attribute rel="nofollow" or rel="sponsored"will trigger an OutboundClick event which will be sent to your pixels and analytics.
Form submissions
Any standard form submission occurring on your site will generate a formSubmit event in AnyTrack, which will be forwarded to your analytics and pixels.
Updated 2 months ago