Google Tag Manager Template
Import the AnyTrack Google Tag Manager template so you can quickly get started with AnyTrack and keep your tags organized.
This article is published publicly as part of the terms of the GTM Gallery that require a setup guide to approve the template.
To install the template manually, please follow the steps:
- Download the template file here.
- Import the template into your GTM account following the steps below.
- Add a new tag.
- Select AnyTrack.
- Update the Property ID.
- Add the trigger - all page views.
- Save and submit your container.
Watch the video walk through here:
How to install the AnyTrack Tag via the Google Tag Manager template without adding a line of code to your site, and make sure all your tracking tags are managed from a central GTM container.
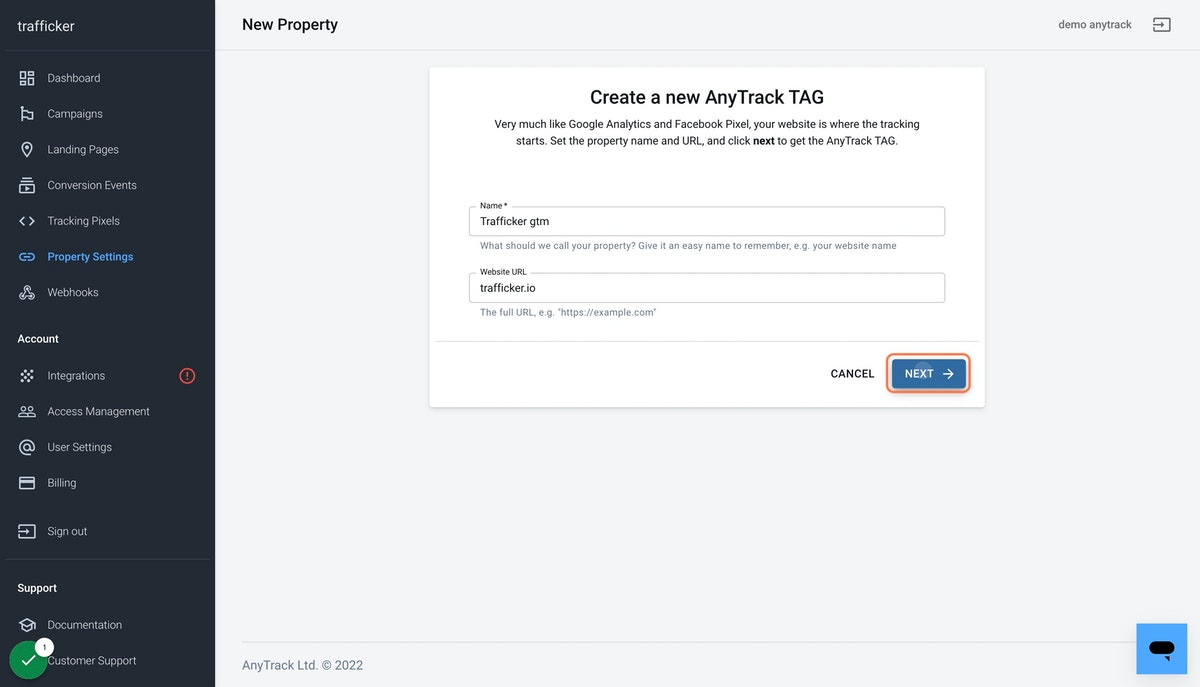
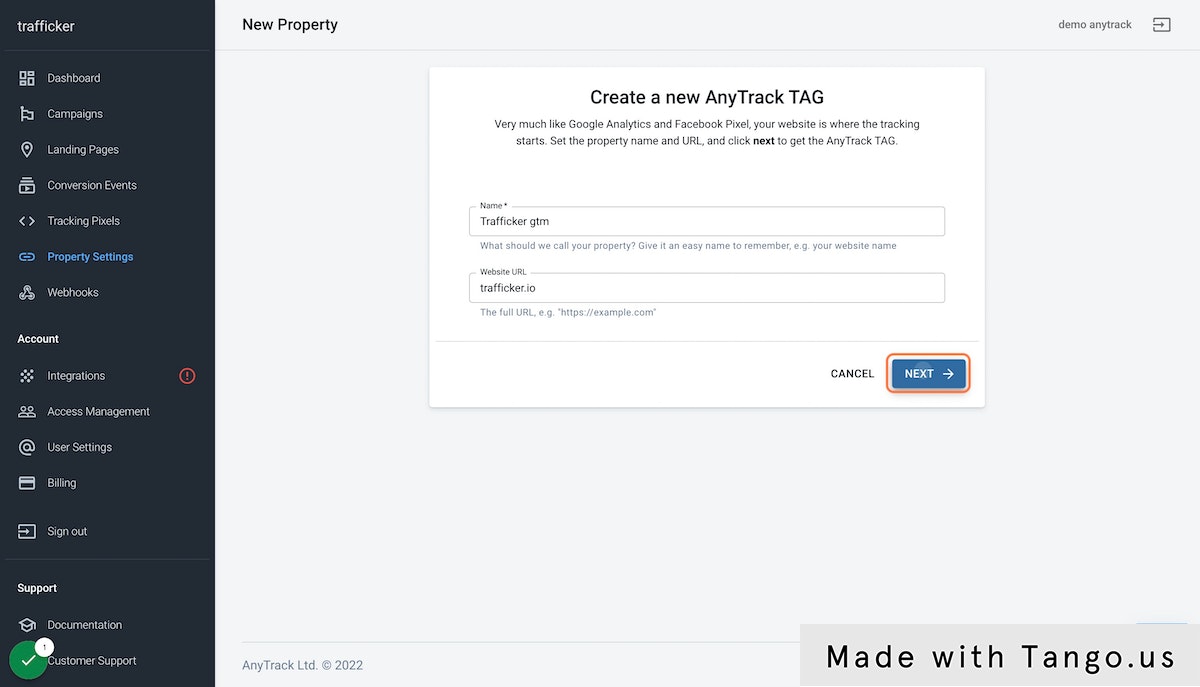
1. Create a new property
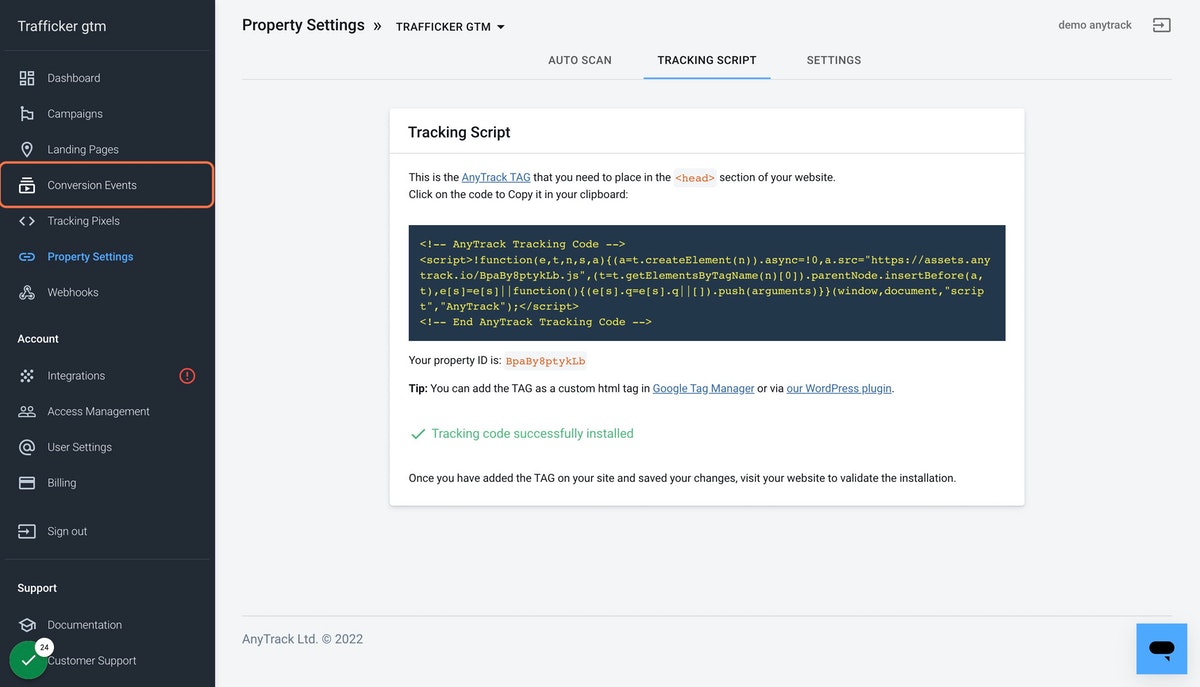
If you already have a property, you can navigate to the property settings.
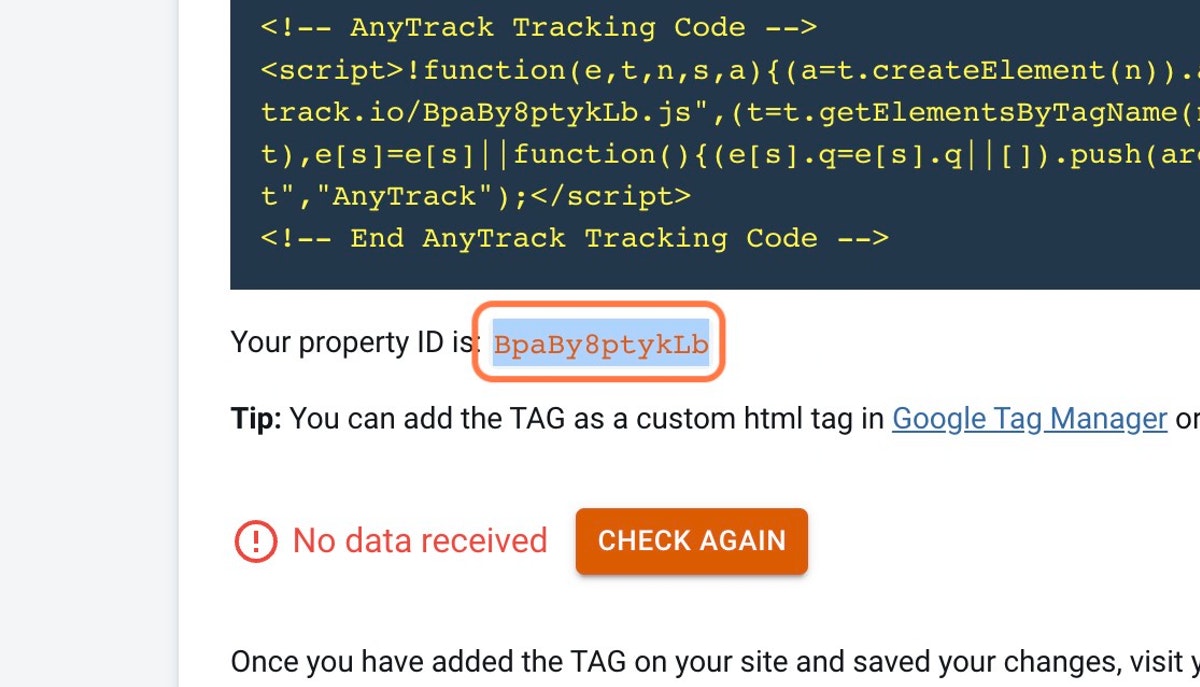
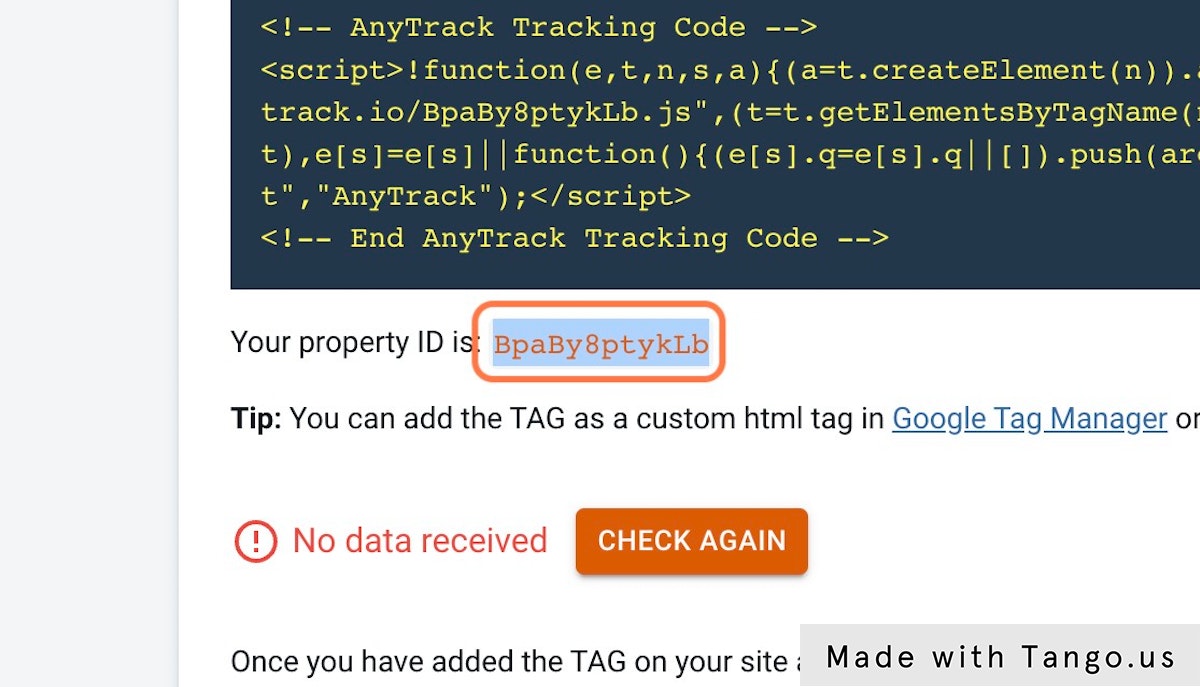
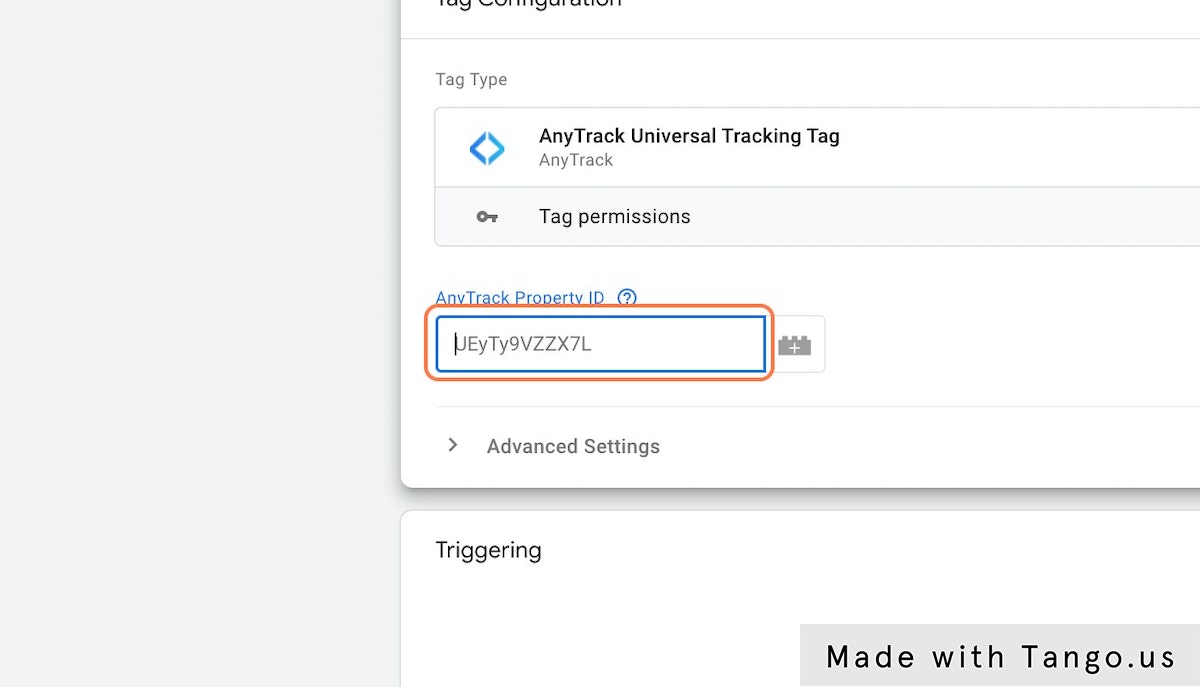
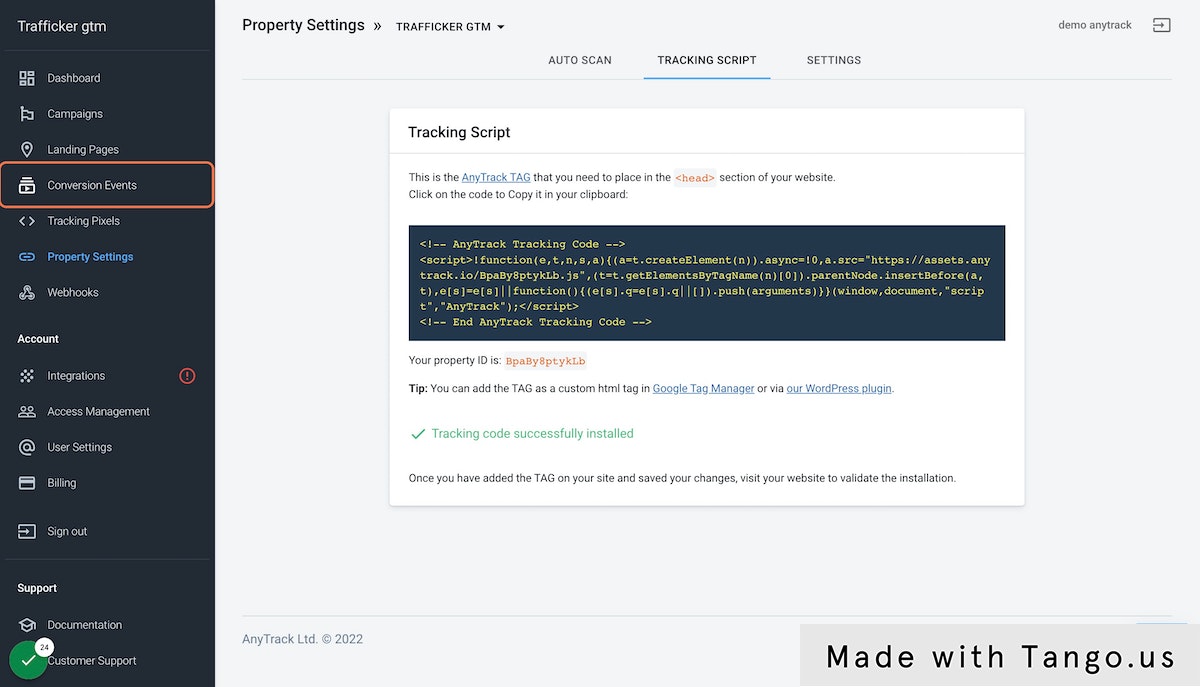
2. Copy (Ctrl+c) the Property ID
The property ID is a unique value that is attached to your account.
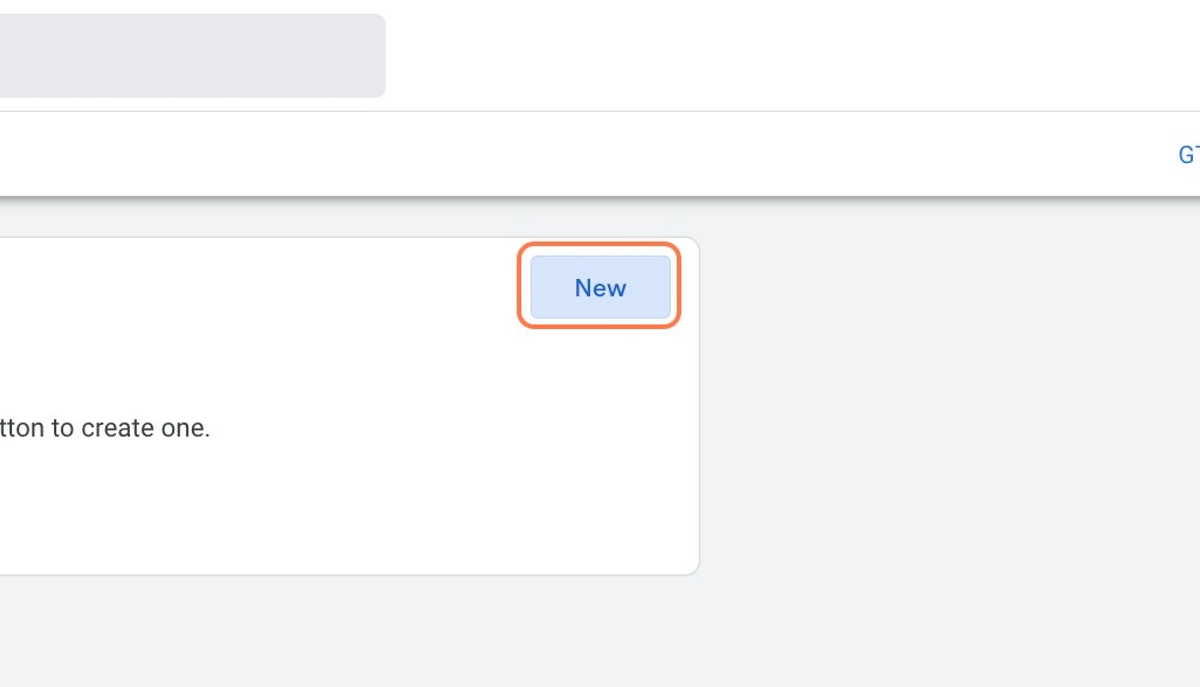
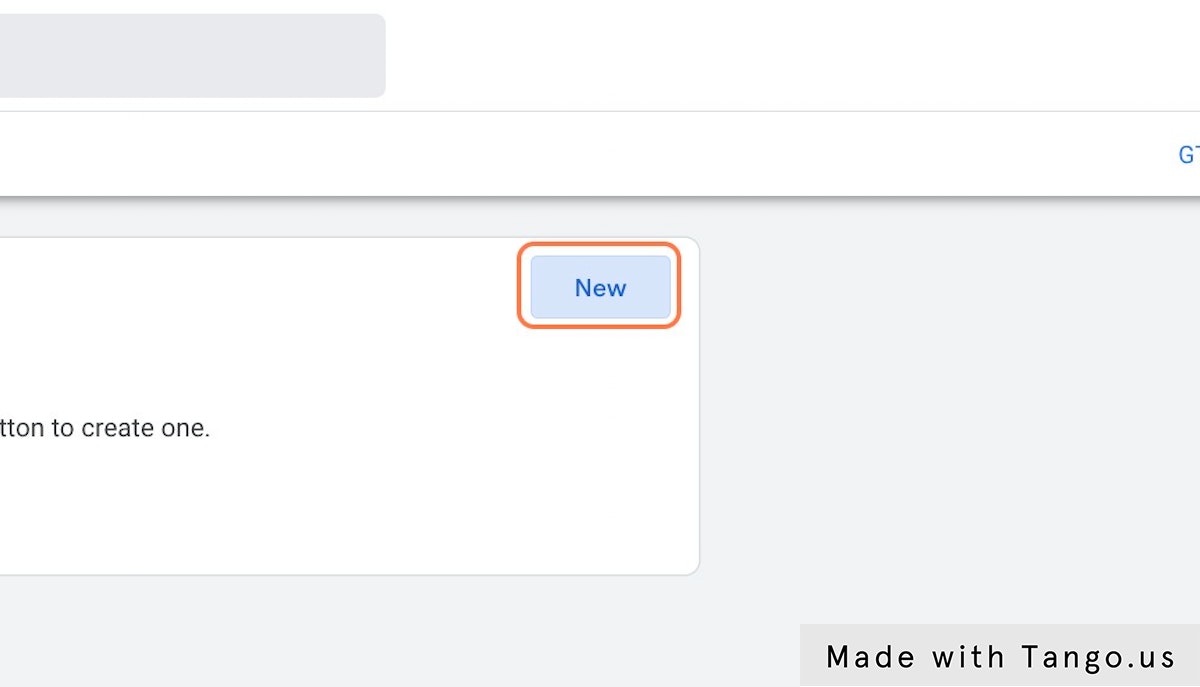
3. Go to Google Tag Manager and add a New Tag
Create a Tag like you would typically do with any other tags.
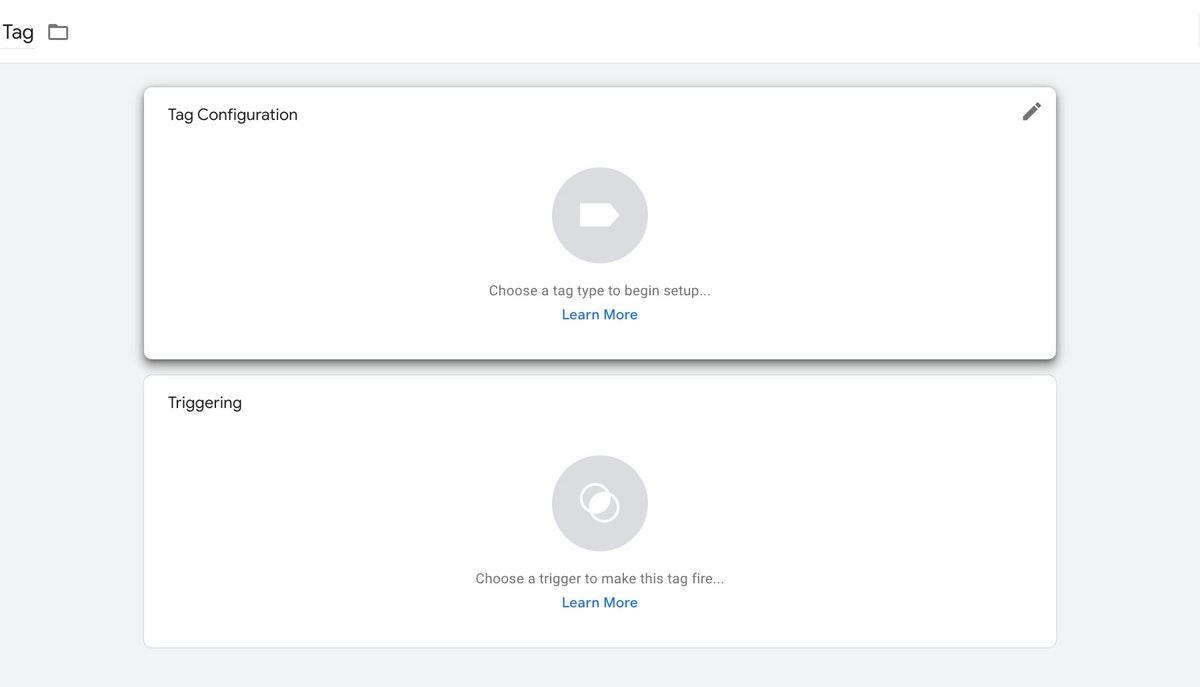
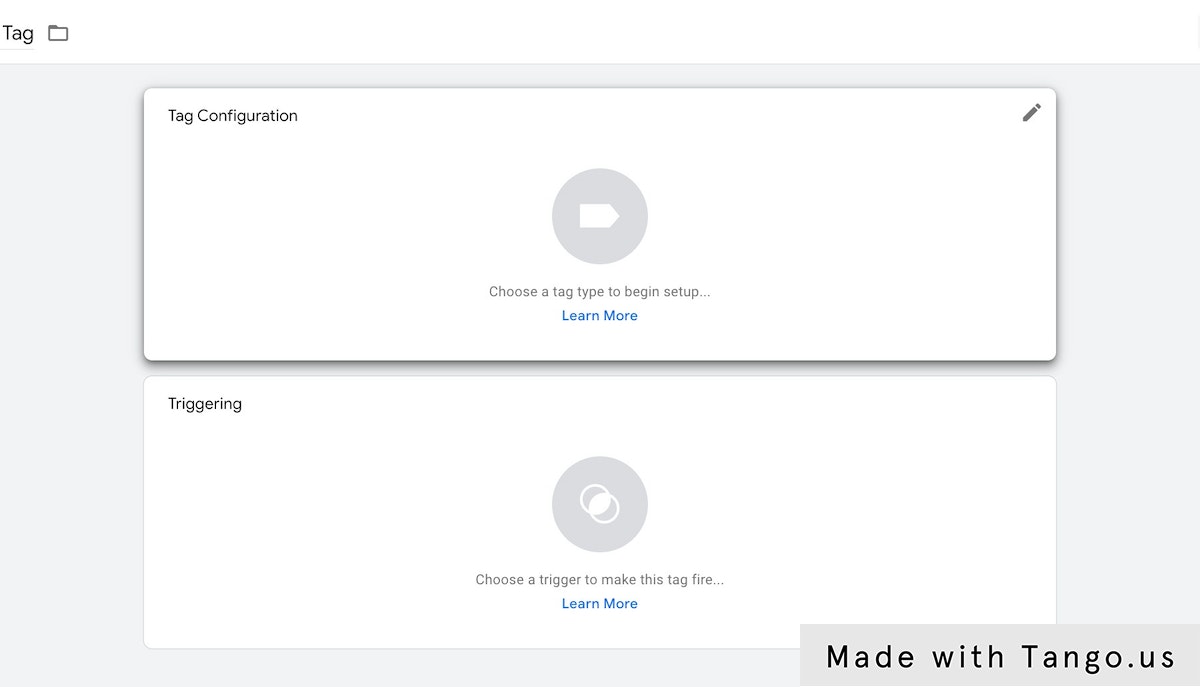
4. Click on Tag Configuration
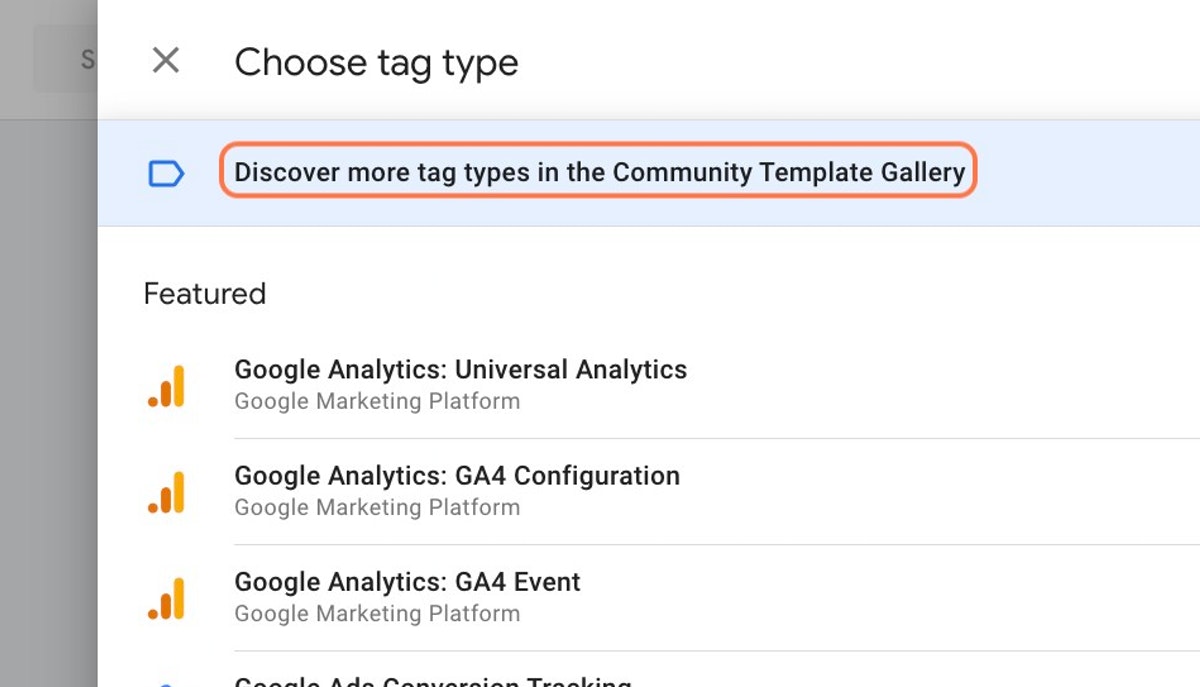
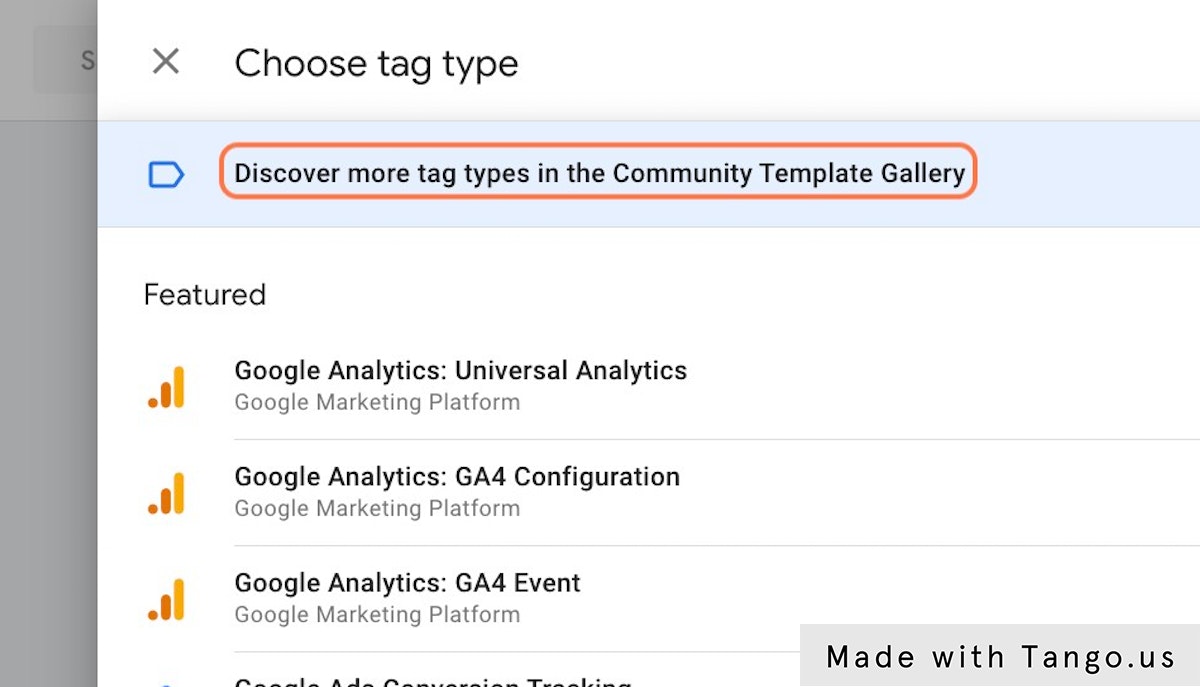
5. Access the Google Tag Manager Community Template Gallery
You can then search for the AnyTrack template
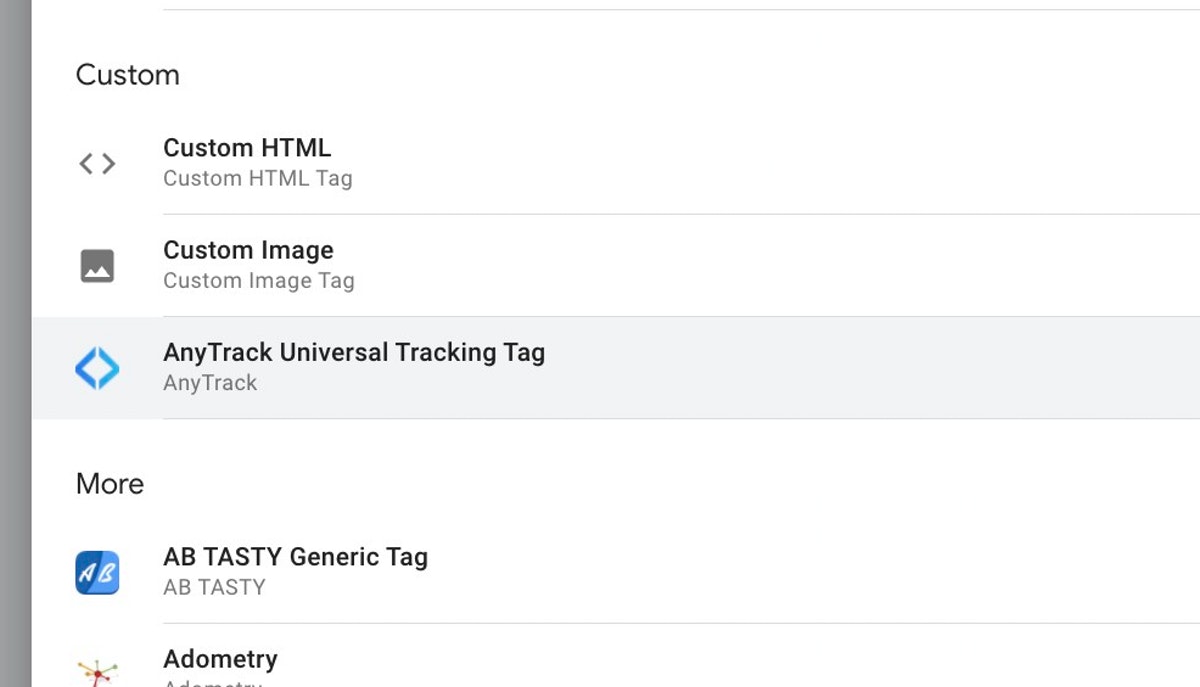
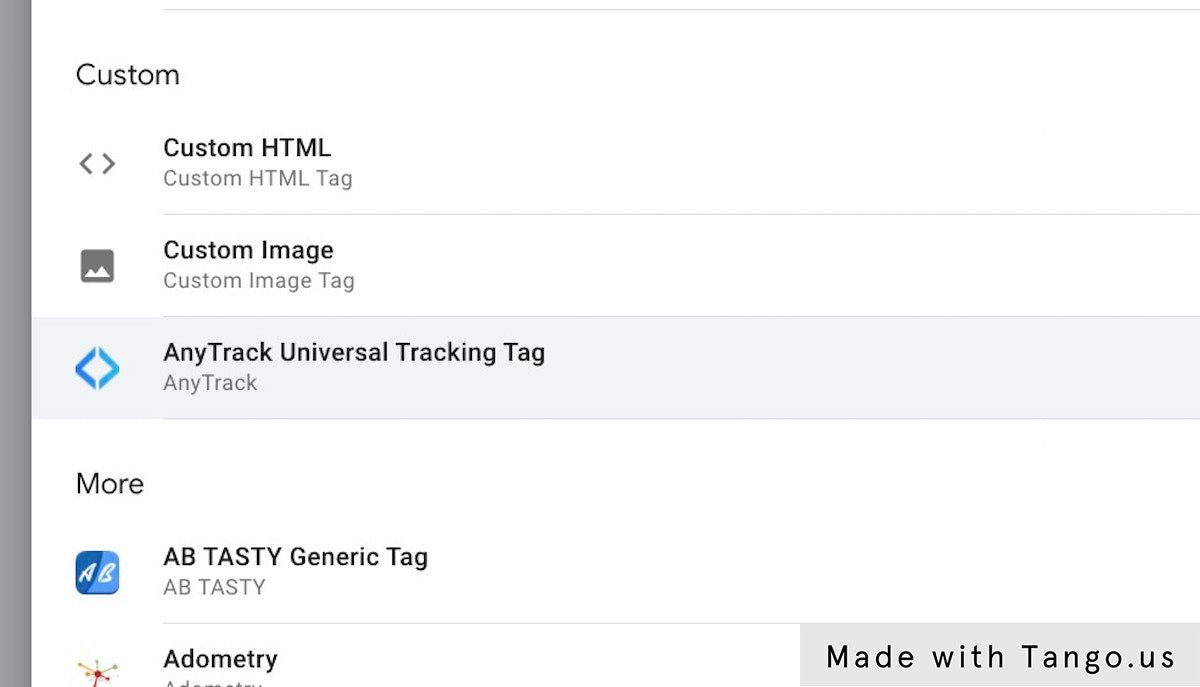
6. Now you can click on the AnyTrack Template
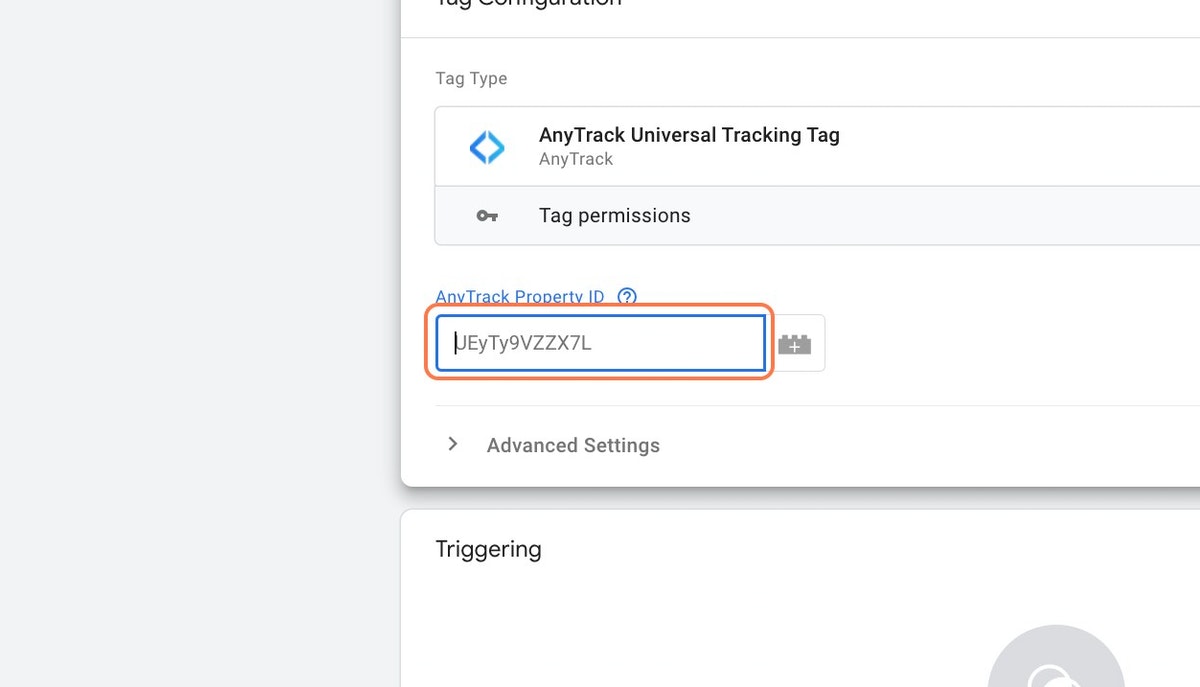
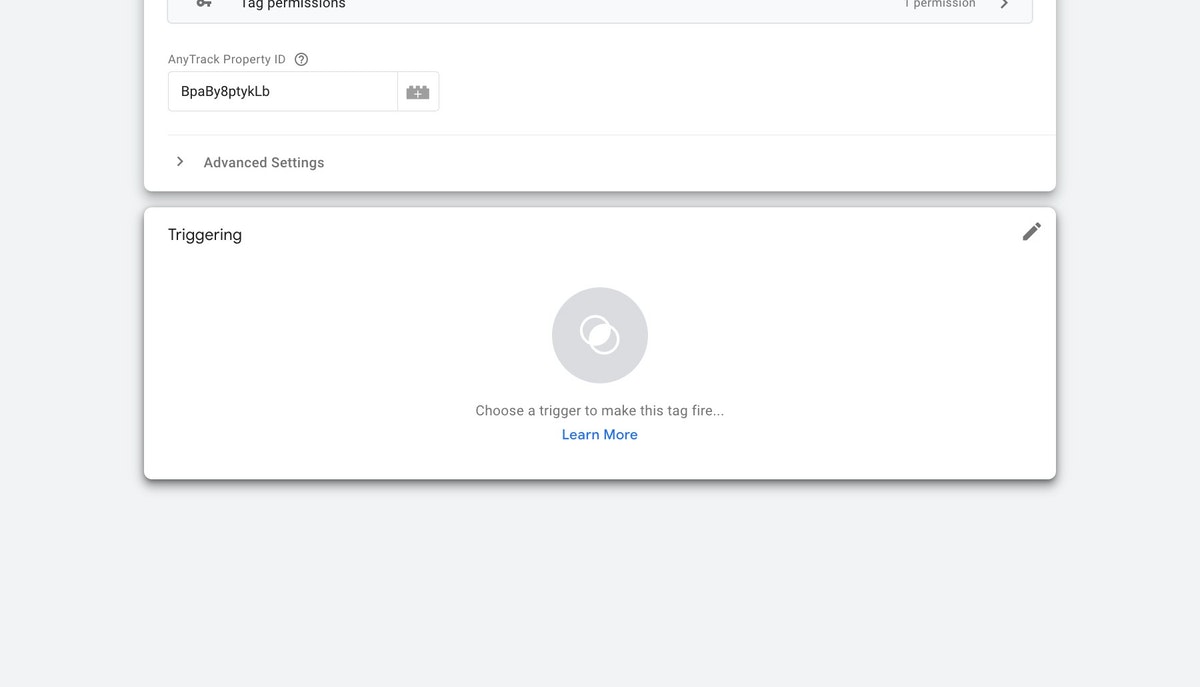
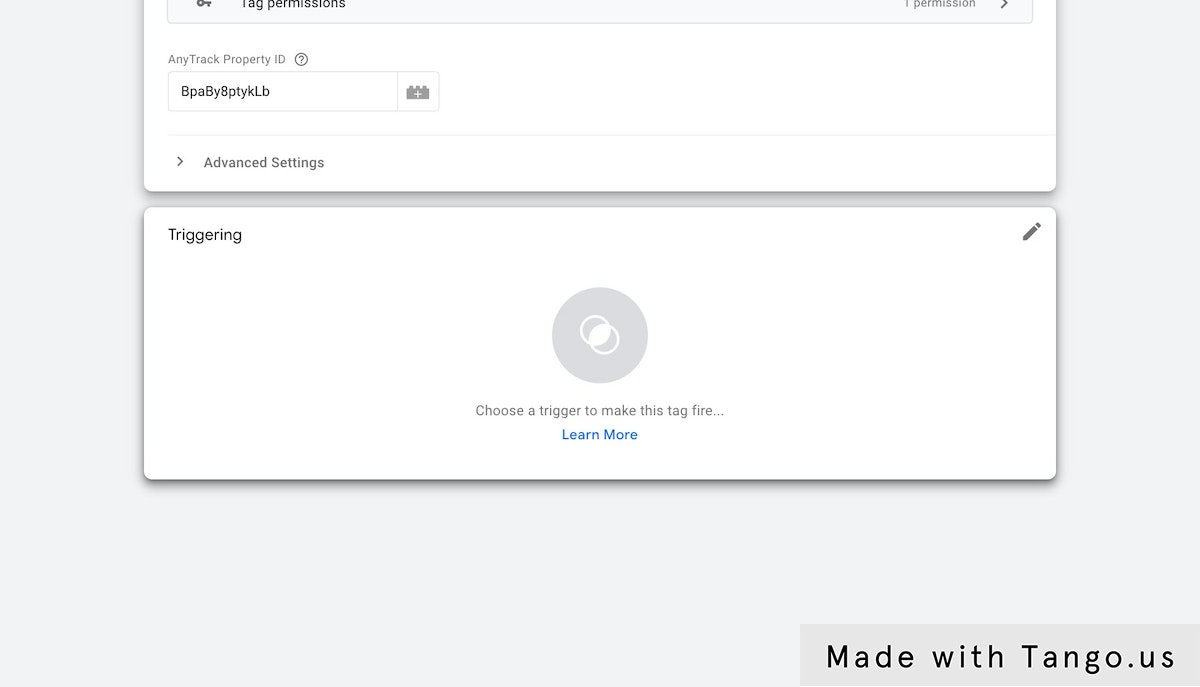
7. Paste the Property ID
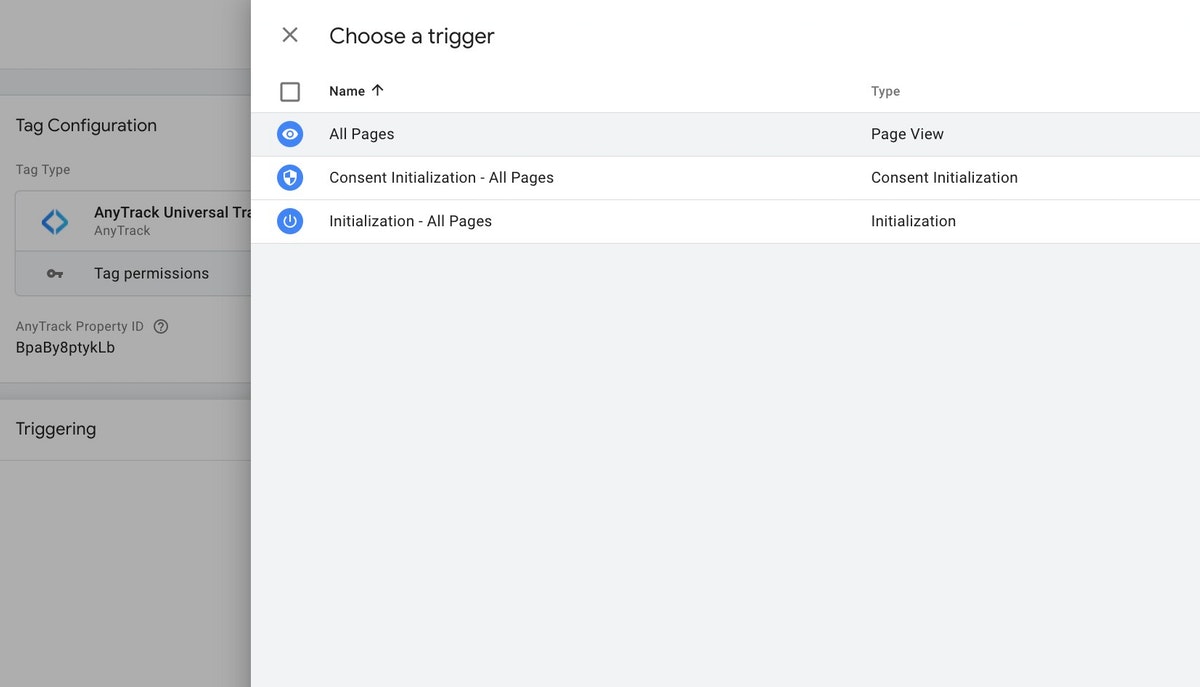
8. Set the Triggering rule
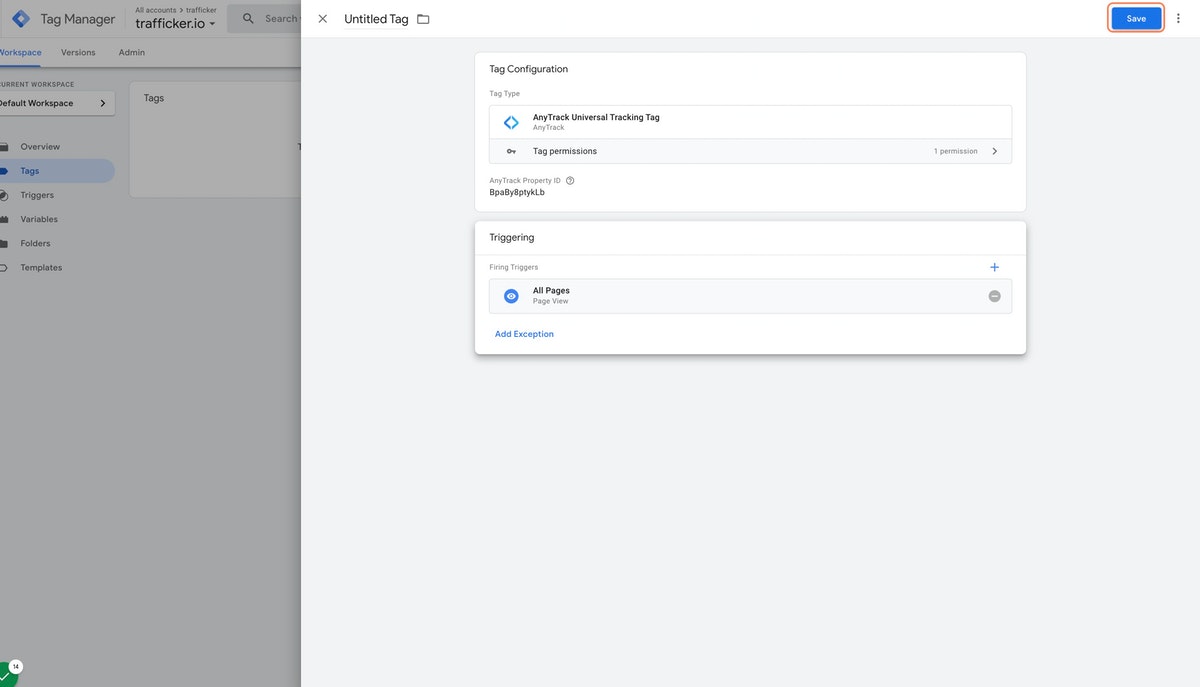
9. Chose the Trigger All Pages
Note that AnyTrack will automatically track standard events such as AddToCart, FormSubmit, OutboundClick, so you don't have to create these triggers in Google Tag Manager.
10. Finally, Save the new Tag
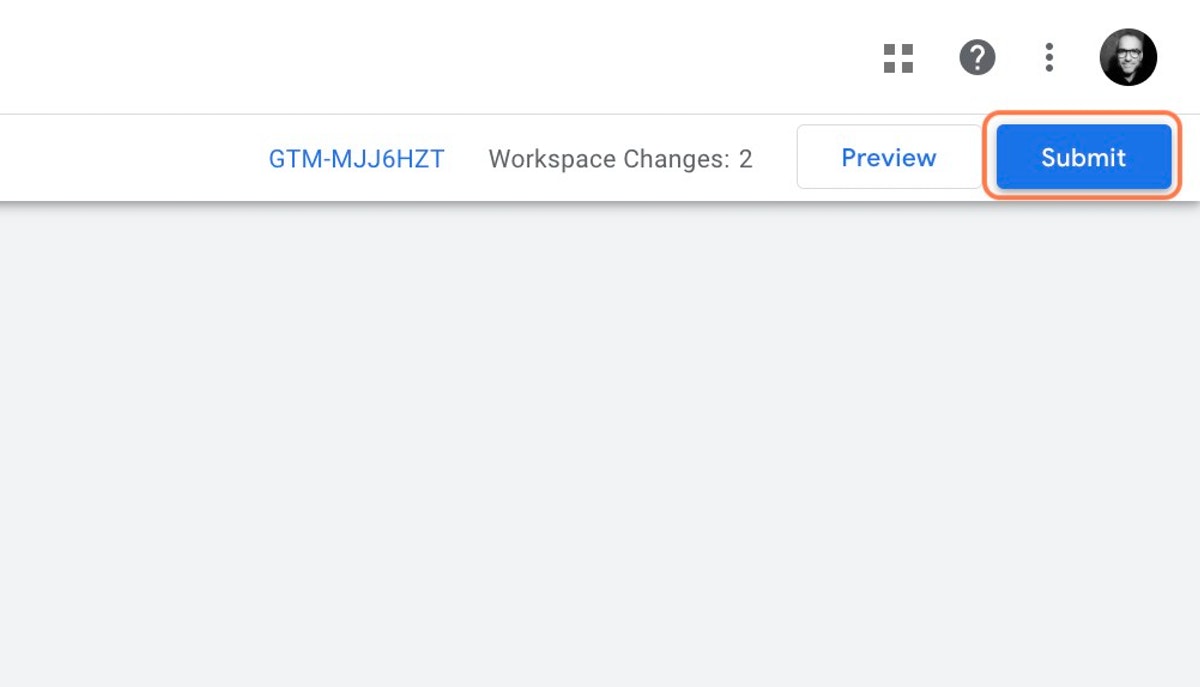
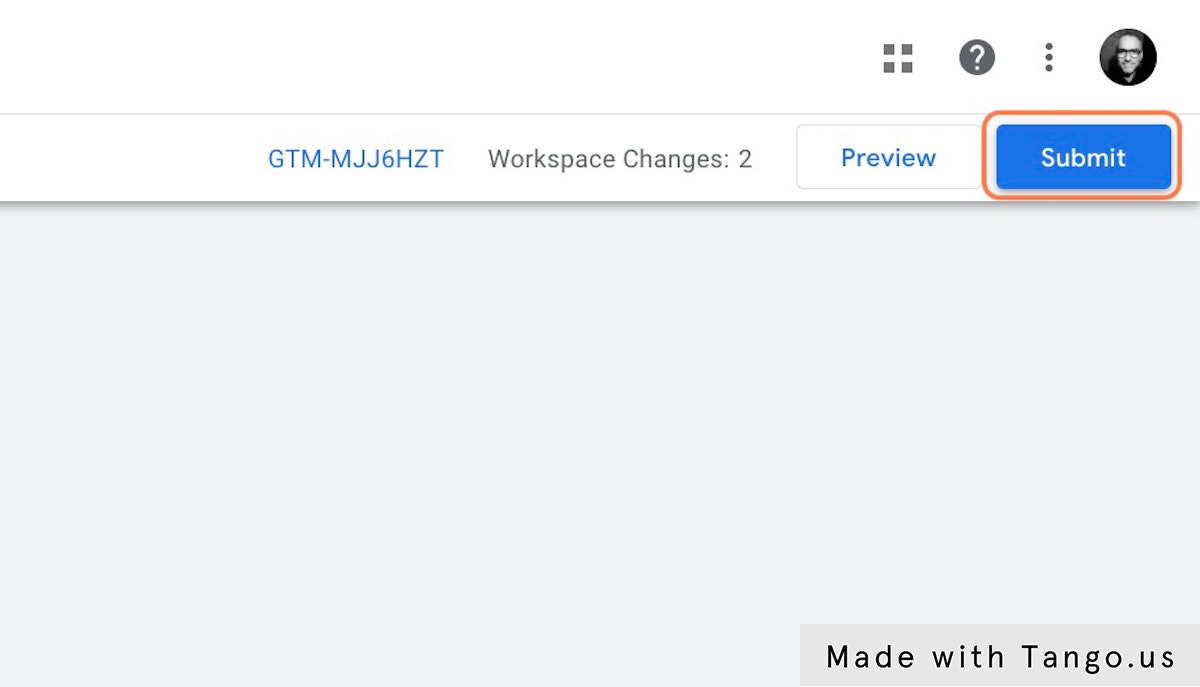
11. Submit and Publish your GTM Container
12. Return to AnyTrack to validate the setup
Typically the validation is done in real time, so you can simply load your website from a different tab.
Popular questions about AnyTrack and Google Tag Manager
Do I need to trigger specific events when using GTM?
No, AnyTrack will automatically trigger standard events, so you don't need to trigger them via GTM.
What if I want to trigger custom events?
That's the beauty of GTM and we highly recommend to use it at will.
If you already have your custom events, you simply need to trigger the AnyTrack Event Snippet as if you were triggering any other tags.
For example if you want to trigger a custom event named "MyCustomLead" event when a visitor hits a specific page you can fire the following snippet and use the current triggers used in your GTM container.
<script>
// trigger an lead event
var click\_id = AnyTrack('trigger', '**MyCustomLead**');
</script>
Note:
The event will be tracked only if the AnyTrack Tracking Tag has loaded before the snippet.
Can I pass event data or dataLayer or any other variables from my GTM container to AnyTrack event snippet?
Of course, and it's highly recommended!
By default, AnyTrack will capture first party data and contextual event data such as page title, path, utm parameters etc... Yet, if you'd like to pass specific variables that are nested in the dataLayer or that you are generating through your GTM container, you can do so by adding additional parameters to the event snippet.
For example here is a complete purchase event that includes the order details, as well as the customer data.
<script>
  var click\_id = AnyTrack('trigger', 'Purchase', {
    value: 29.9, // the total purchase value
    shippingPrice: 5.9, // optional shipping price
    taxPrice: 2.9, // optional taxes
    currency: 'EUR',
    transactionId: 'XJW0047',
    email: '[email protected]',
    firstName: 'John',
    lastName: 'Smith',
    items: \[{
      id: '20291', // the item catalog id (required)
      name: 'Sony MDRZX110/BLK ZX Series Stereo Headphones',
      quantity: 1,
      price: 19.9 // the item price (required)
    }, {
      id: '49292', // the item catalog id (required)
      name: '6.35mm Male 3.5mm Female Headphone Stereo Audio Connector',
      quantity: 1,
      price: 4.1 // the item price (required)
    }\]
  });
</script>
How to install the AnyTrack Google Tag Manager Template (#nocode)
How to install the AnyTrack Tag via the Google Tag Manager template without adding a line of code to your site, and make sure all your tracking tags are managed from a central GTM container.
1. Create a new property
If you already have a property, you can navigate to the property settings.
2. Copy (ctrl+c) the Property ID
The property ID isa unique value that is attached to your account.
3. Go to Google Tag Manager and add a New Tag
Create a Tag like you would typically do with any other tags.
4. Click on Tag Configuration
5. Access the Google Tag Manager Community Template Gallery
You can then search for the AnyTrack template
6. Now you can click on the AnyTrack Template
7. Paste the Property ID
8. Set the Triggering rule
9. Chose the Trigger All Pages
Note that AnyTrack will automatically track standard events such as AddToCart, FormSubmit, OutboundClick, so you don't have to create these triggers in Google Tag Manager.

10. Finally, Save the new Tag

11. Submit and Publish your GTM Container
12. Return to AnyTrack to validate the setup
Typically the validation is done in real time, so you can simply load your website from a different tab.
Updated 4 months ago